Resizing images used in your website posts and pages is extremely important. Photos taken by today’s cameras and cell phones have incredibly large data files. Leaving the images as is will result in in slow page load speeds.
One great tool for adjusting your image size is to use a website called ResizeImage.net.
ResizeImage.net is a free online image resizer and compressor. With this tool, you can crop and resize any image to your exact desired specifications. This will allow you to reduce the file size without losing quality. This tool is completely free and does not store or keep your images.
The website tool has other functions too, such as a GIF Maker, PDF to JPG converter, and password generator.
The following steps will help you resize your images to a data size that is appropriate for use on your website.
1. Choose Your Image
To begin, select the image you want to resize. In this example, I’m going to use a recent photo of my dog Rufus. I mean, who doesn’t enjoy a good dog picture, right?
FYI, I’m using a Mac computer and obtaining my image from the apple photos app.

If I click on the information icon, I can view the original file size metadata for the image.

You can also view the photo’s details on your computer by right clicking on the image, then choosing get info (for Mac) or properties (on a PC)

You can see from this screenshot that this is a very large image.
The 3024 x 4032 number corresponds to the dimensions of the photo. The first number (3024) is the width, and the second number (4032) is the height.
The current unaltered image is a whopping 4.3 megabytes. That’s way too large of a file for use on a website.
So, we’ll need to reduce the size.
2. Export your photo to a file folder
I always start by saving (or exporting) my photo in a designated file folder. When you start adding photos to your website, you’ll find it makes sense to save your chosen images into a dedicated file folder. This just makes it a lot easier to find them when you need them.
Of course, if you’ve downloaded your photo from an online image source, you can skip this step because you will have already saved the file onto your hard drive. Still, I’d recommend saving those photos into a dedicated (and organized) folder.
In this example, I’m going to export my photo from my apple photos app into my Web Biz Bedrock photo file.

Click the export button. You don’t need to change the original settings here.

Choose the file folder you want, and then press the export button again.

2. Upload the Image
To begin the process of resizing the image, you will need to upload your image to https://resizeimage.net/.
Click the “upload an image” button.

Find the image file you want as saved in your hard drive. Select the image file by clicking on it, then click the “open” button.

Your photo will now be located in the resizeimage tool and you can begin working on it. Note, however, that since resizeimage doesn’t store your image, it will be deleted after an hour. You’ll need to do all your editing within that time frame.

3. Crop the Image
If you want to crop your image in any way, you can also do that in resizeimage.net. If you don’t need to crop the photo, you can skip this step.
For example, in this photo of Rufus, the image could be enhanced by cutting off the bottom portion of the photo.
I’m simply going to click on the upper left hand side of the photo, hold my mouse button down as I drag it towards the lower right hand corner of the image,
You can see in this image how I have a portion of the photo selected.

Click the “crop” button. Don’t worry, if you don’t like how it looks, you can click the “undo” button and start over.

4. Resize the Image
Now you are ready to resize the image. Scroll down to “4. Resize your image.”

With the “keep aspect ratio” box checked, grab the circle on the blue bar and drag it to the left. You want the 2nd number to be less than 1000. Ignore the other numbers.

Now scroll down to item # 6. “Select the output image format.” You will want to save the photo as a JPG file. It should already be checked.

Next, scroll down to item 7 “optimize your image.”
Click normal compression and then drag the circle on the bar until the image quality is approximately 70%.

You are almost done. Now it’s time to finally click the “resize image” button.

Now, after clicking that resize image button, you can see the file size information located at the bottom of the page.
As you can see, we’ve significantly reduced the size of this image.

If you are happy with this file size (I’d recommend getting the file under 150 KBs), then you can download it now.
Click the “Download Image” text.

5. Rename Your Image
Retrieve the file which should now be located in your downloads folder.
The file will have “resizeimage” in the file name.
Rename it and move it to the desired folder as you see fit.

Here is my resized image, renamed, and in the folder where I keep my Web Biz Bedrock photos.

If at this stage your image is under 150 kilobytes, you can stop at this point. The file is now a small enough file size to result in fast loading web pages.
Or, if you want the image size smaller, simply adjust the percentage under “7. Optimize your image.” Here in this example, I’ve reduced it to 56% to result in an image size of 152.4 KB.

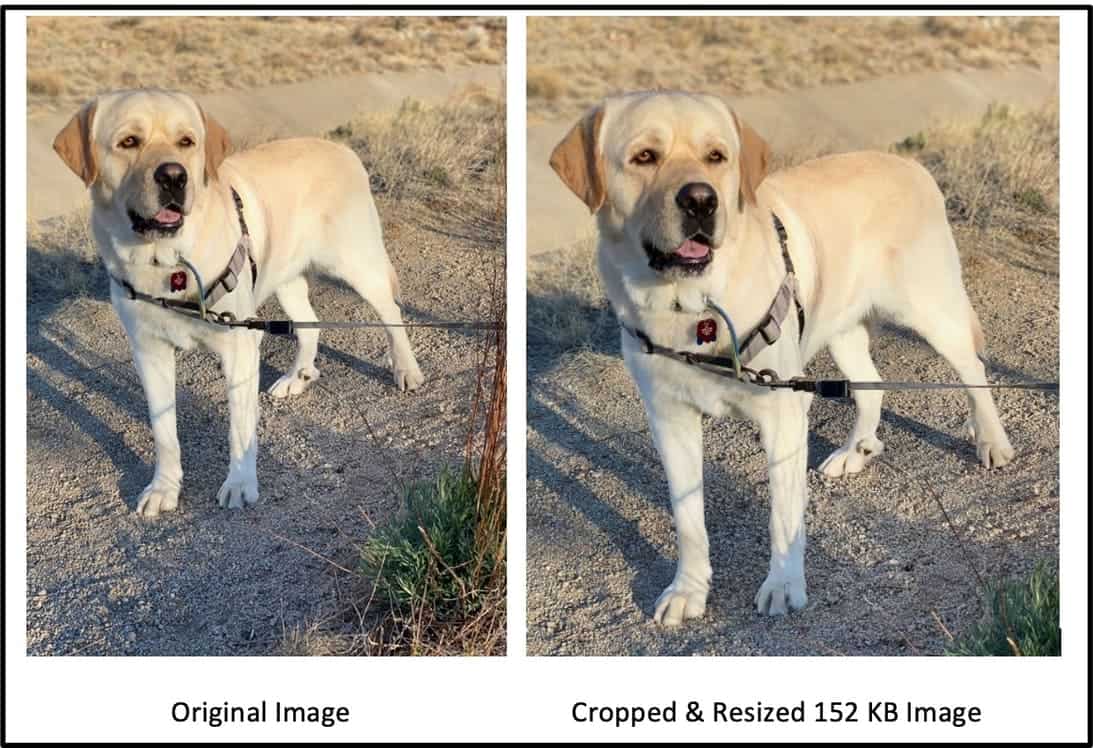
Here are the 2 images side by side: the original and the cropped 152 KB file. As you can see, you really can’t notice a difference.

That’s it, you are done. You have successfully resized your image.